After many repeated requests (which was kind of surprising), here is my overview of the 2014 anime I watched. I am told that I was too negative in previous lists and I want to avoid that this time… probably not going to happen!
This year had a LOT of sequels. I prefer to watch something new unless the original was outstanding, so I ignored some of these (how can Fate/Stay have so many spin-offs?). And for some reason, many ~22 episode series were split in half and had a break in the middle. I am counting those as one series. Speaking of both sequels and split anime…
Anime of the Year
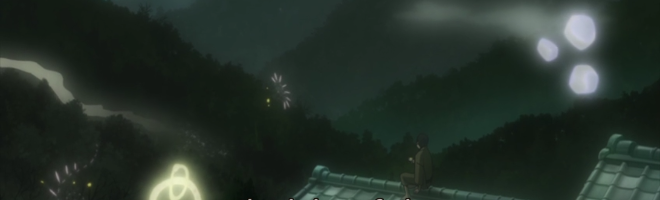
Mushi-Shi: Next Passage
(TV Series, 11+10 episodes + special)
This is how you do a sequel! And it came out of nowhere about 10 years after the original. The stunning visuals remain and are improved on as we expect in the HD era. The atmospheric soundtrack sits very well with the stories, with the intro “Shiver” by Lucy Rose fitting in perfectly. As with the original series, the story is largely episodic but there is a subtle underlying flow brings it together. Not only do I consider this the anime of 2014, it would be a strong contender for anime of the year in any year. Look out for the movie in 2015.
Recommended
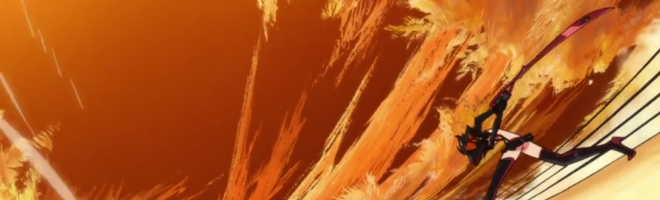
Kill la Kill
(TV Series, 24 episodes)
Half naked girls fighting while being manipulated by clothing… This is made by the same people as “Gurren Lagann”, and it is just as insane, just with less robots and more fan-service. And there is a lot of fan-service, to the point where it would have been awkward if I watched this when taking public transport to work! That also caused some controversy around the internet. I watched this for the craziness and enjoyed it for that – the fan-service seemed to fit in to that insanity. This is not an anime that needs watched with extensive thought. (The uproar about the nudity makes it awkward to justify enjoying this series. But I am sure that if I only wanted to see naked people, I could just find some somewhere in the dark recesses of the internet…)
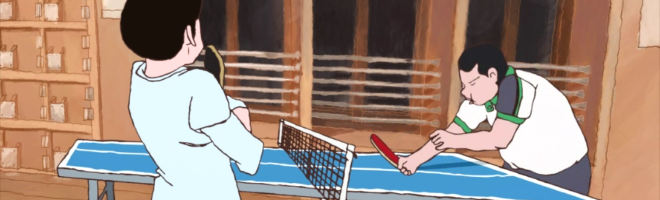
Ping Pong the Animation
(TV Series, 11 episodes)
I only watched this after it being repeatedly recommended to me, because I do not enjoy sport anime. It turns out, Ping Pong is not really a sport anime… despite being about ping pong. This is a show about the growth of the main characters, their friendships and rivalries develop while revolving around the game. Saying that, I saw some ping pong on TV the other day and I was now an expert on it, so there was some sport there. I found the distinctive art style aided in skimming over the actual games without losing the main focus of the show.
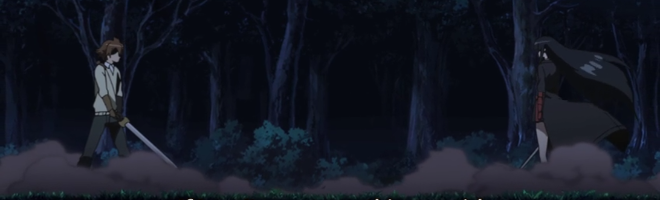
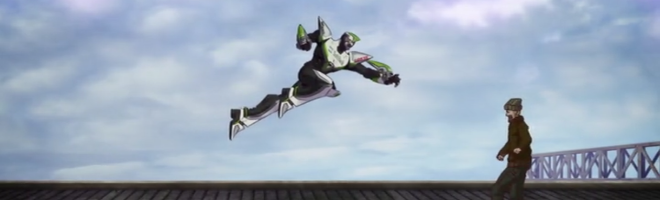
Samurai Flamenco
(TV Series, 22 episodes)
This is a series that people I have talked to either love or hate. I think it is because the series starts out reasonably serious and realistic before going off on wild tangents. I am still not sure if the script was planned, or if the writers genuinely went crazy (although I may lean towards planned after completing the series). But you can not go past this if you want a fun superhero story that has the ability to go from low-tech and gritty to the other extreme. I watch anime for fun, and not to search for some higher meaning, so this was a close contender for anime of the year!
Silver Spoon 2
(TV Series, 11 episodes)
Much like my comments on the first series, there is nothing individually outstanding about the sequel. It is just consistently good. The second season does well in moving on from the issues dealt with during the first (far less “this is where my food comes from” jokes) and focusing on new challenges. You know, exactly what a good sequel should do…
Average
Akame ga Kill!
(TV Series, 24 episodes)
This was one hyped anime for some reason. But there was nothing outstanding in it (some would call it “average” even…). The animation and music during the action sequences was well done, and that makes this fun to watch. However, it goes from dramatic battle to light-hearted romp with the flick of a switch, which ruins both.
Ghost in the Shell: Arise
(OVA, 4 episodes)
Sort of a prequel to Stand Alone Complex, but the backstories have changed… so not a prequel. But there is enough familiarity with the characters that it feels like a prequel (is any of this making sense?). The result is something neither better or worse than the original series.

Psycho Pass 2
(TV Series, 11 episodes)
Not how to do a sequel! I really enjoyed the darkness and mystery of the first series, but that had been mostly resolved and that left not a lot to add. The sequel proceeded to add that not a lot (or even just blatantly rip-off ideas from the first series), resulting in something that was both mildly entertaining and unnecessary at the same time.
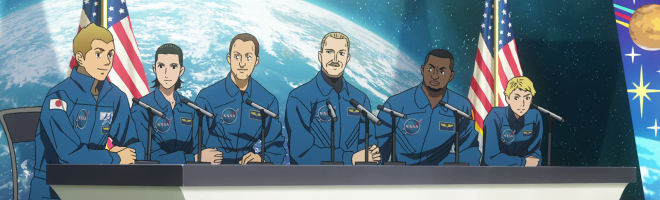
Space Brothers
(TV Series, 99 episodes)
I usually check how many episodes a series has before I start watching it – I forgot for this one! Saying that, I watched each episode of this immediately as it broadcast. I would say this is highly recommended apart from the episodes being a bit slow at times and a bit predictable. Also, there was a trend to a substantial recap at the start of episodes. If they fixed that by reducing the series by ~20 episodes, this would be a great(er) anime.
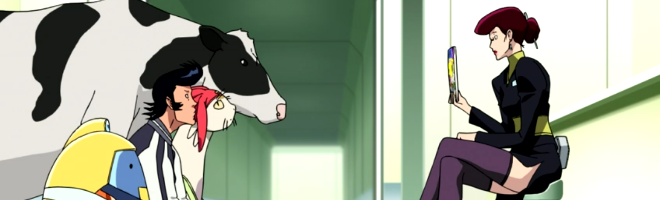
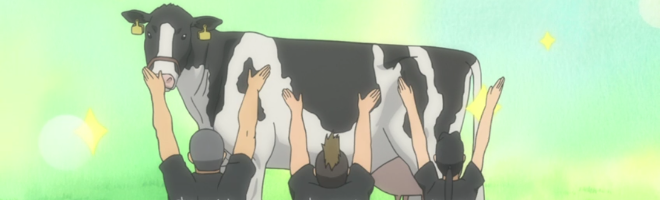
Space Dandy
(TV Series, 13+13 episodes)
After picking a cow for Silver Spoon, I knew what picture I needed here too! I had great hope for this anime – it is by the makers of some of my favourites. However… I never got caught up in this series. Everything about it is simple, right down to the “comedy” which has none of the unexpected surprise needed to be funny. For example the “Boobies” restaurant, which is Hooters in space – oh, it is also shaped like boobs. That is the joke… There is also nothing riding on the outcome of an episode (spoiler follows). The entire cast die at the end of the first episode and are back as if nothing happened in episode two. So who cares what happens?
Tiger and Bunny the Movie: The Rising
(Movie, 100 minutes)
The second part of a two movie series that may or may not be a recap of the TV series (I can not be bothered checking…). If they were not a recap, it added very little beyond what the TV series did in terms of actual development of the storyline. Still enjoyable.
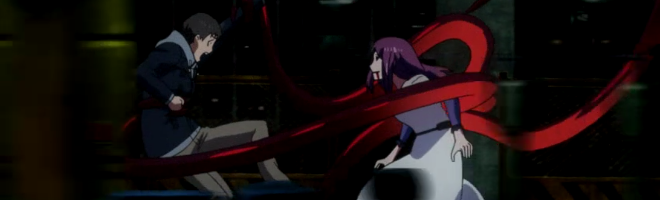
Tokyo Ghoul
(TV Series, 12 episodes)
I usually like short series (good risk/reward investment ratio), but I think being too short was the failure here. There was character development, building a world where ghouls have their own society, and then someone asked “how many episodes do we have left?”. Queue the final three episodes being packed with action and not a lot else. I realize there is a second series, but why would you watch it after what they did to the first?
Sub-par
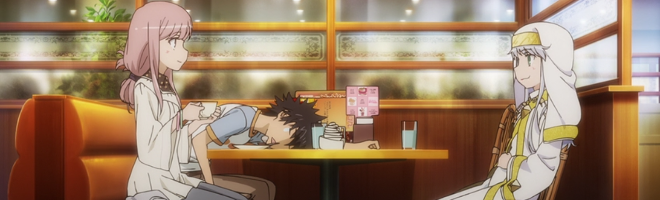
A Certain Magical Index The Movie: The Miracle of Endymion
(Movie, 90 minutes)
This was the final straw in me watching “A Certain …” series. I really liked the first Scientific Railgun series (I think everyday superpowers is still a great concept), but this took much of what I did not enjoy about that series and added it to Magical Index (which was never as good), and come up with something that I really did not enjoy. Maybe this will serve as a reminder to me and I will not watch the next one (maybe).

Hozuki no Reitetsu
(TV Series, 13 episodes)
A slice-of-life anime set in Japanese Hell. It gets some points for being fairly original… However, I found the jokes fell flat more often than not, and that can leave a big gap when there is nothing else going on. With two stories per show (that is 10 minutes a plot line), nothing really caught my interest and I took a long time to finish watching this.
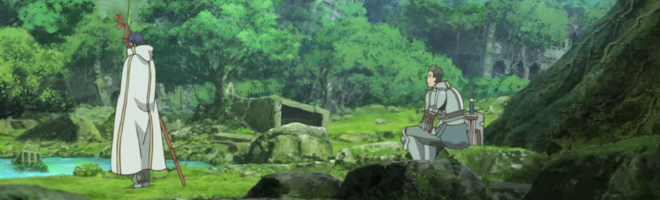
Log Horizon
(TV Series, 25 episodes)
Another “stuck in a game” anime, with the twist that there seems to be the lack of motivation to leave. Too much filler (especially near the end), forgettable action scenes, and a storyline that resembled a poor version of Spice and Wolf. The most entertained I was in this series was when other people started mocking the main character for always touching his glasses…
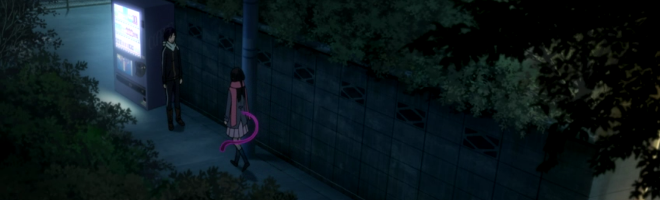
Noragami
(TV Series, 12 episodes)
I think this series was not particular bad in itself, but I think it could have been good and failed. I am still not sure what it was missing, but I find the whole thing completely forgettable (which may be why this “review” is so vague).
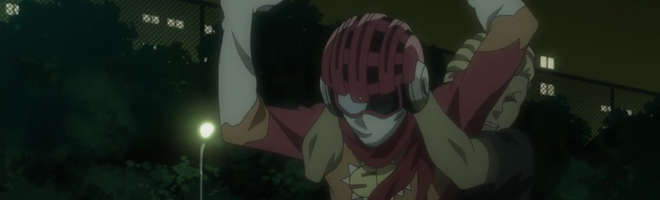
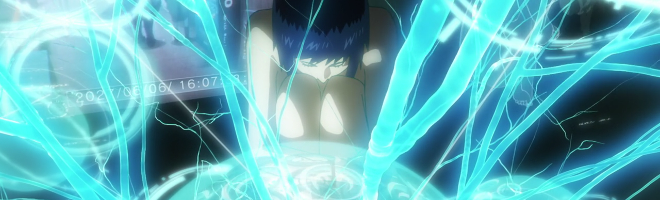
Terror in Resonance (Zankyou no Terror)
(TV Series, 11 episodes)
The initial build-up is OK – good even – but everything becomes overly contrived in the second half. Overall, this is probably a reasonable watch if you are not hoping for greatness, but I rate those series that screw up their potential harshly. And I just noticed the director was Shinichiro Watanabe, who has been involved in many of my favourite series. He did not have a great year according to this blog post!